Setup Labeling Interface
Configuring the labeling interface in Labelo is a crucial step to ensure that annotators have the right tools and configurations to perform their tasks effectively. This process involves browsing templates, adding labels, and customizing the interface to fit the specific requirements of your project.
Setup the labeling interface for your project
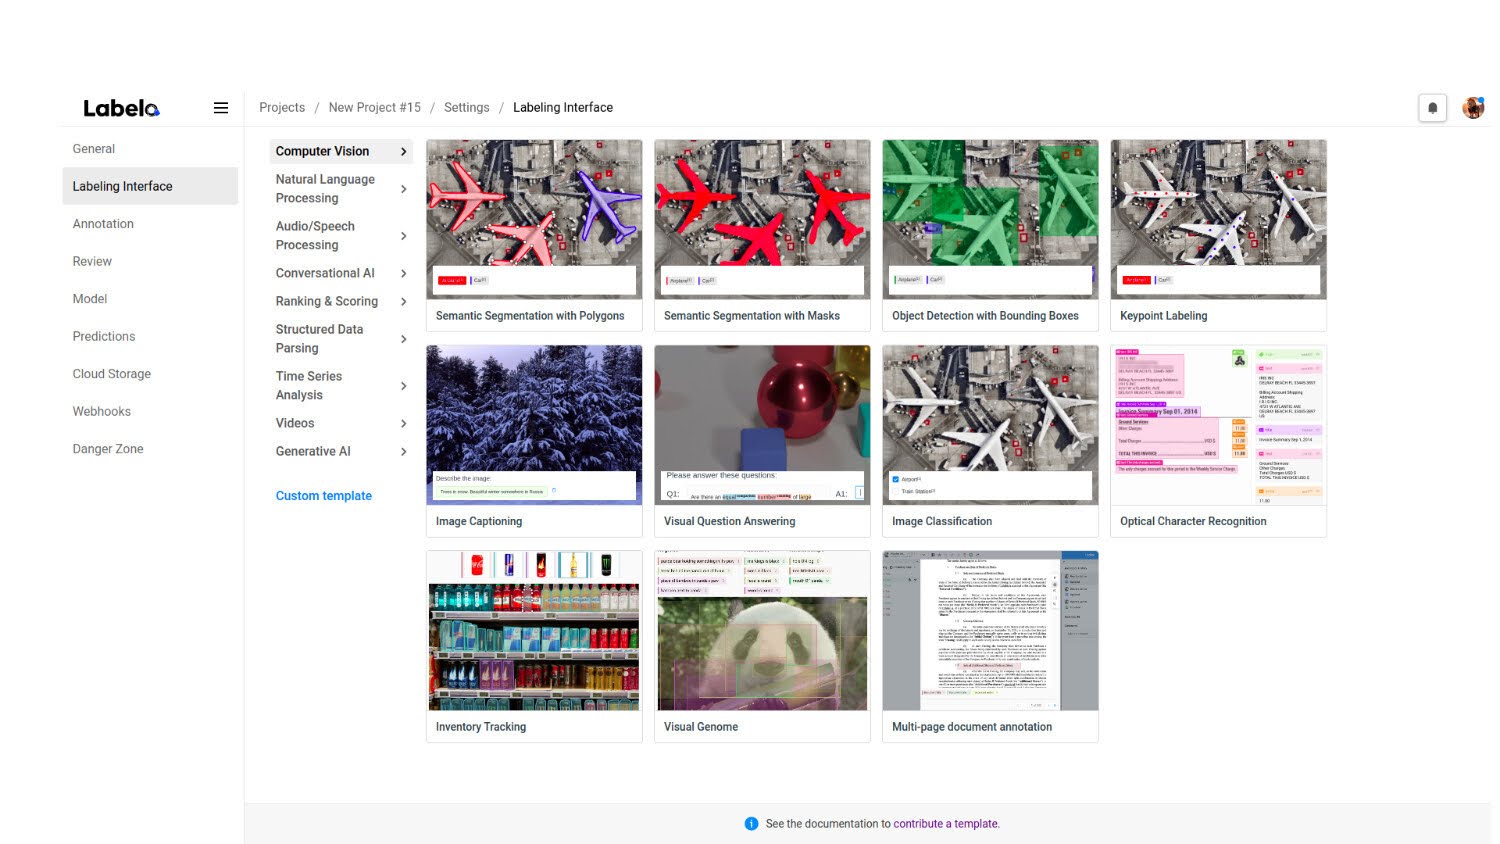
Labelo offers a variety of templates for different annotation tasks like Object Detection, Image Segmentation, and Text Classification.
How to Access Templates:
- Navigate to the
Labeling Interfacesection under theSettingstab in your project. - Click on the
Browse Templatebutton to explore available templates.
Important
Make sure you choose the right template based on the type of data and annotations you are working with. Selecting the wrong template can affect the accuracy of your annotations.
- Preview Templates: You can preview templates to check their structure and tools before selecting one. This helps ensure the template suits your project's needs.
Once you access the Labeling interface settings, the following window will appear, where you can set up the labeling interface for the particular project.
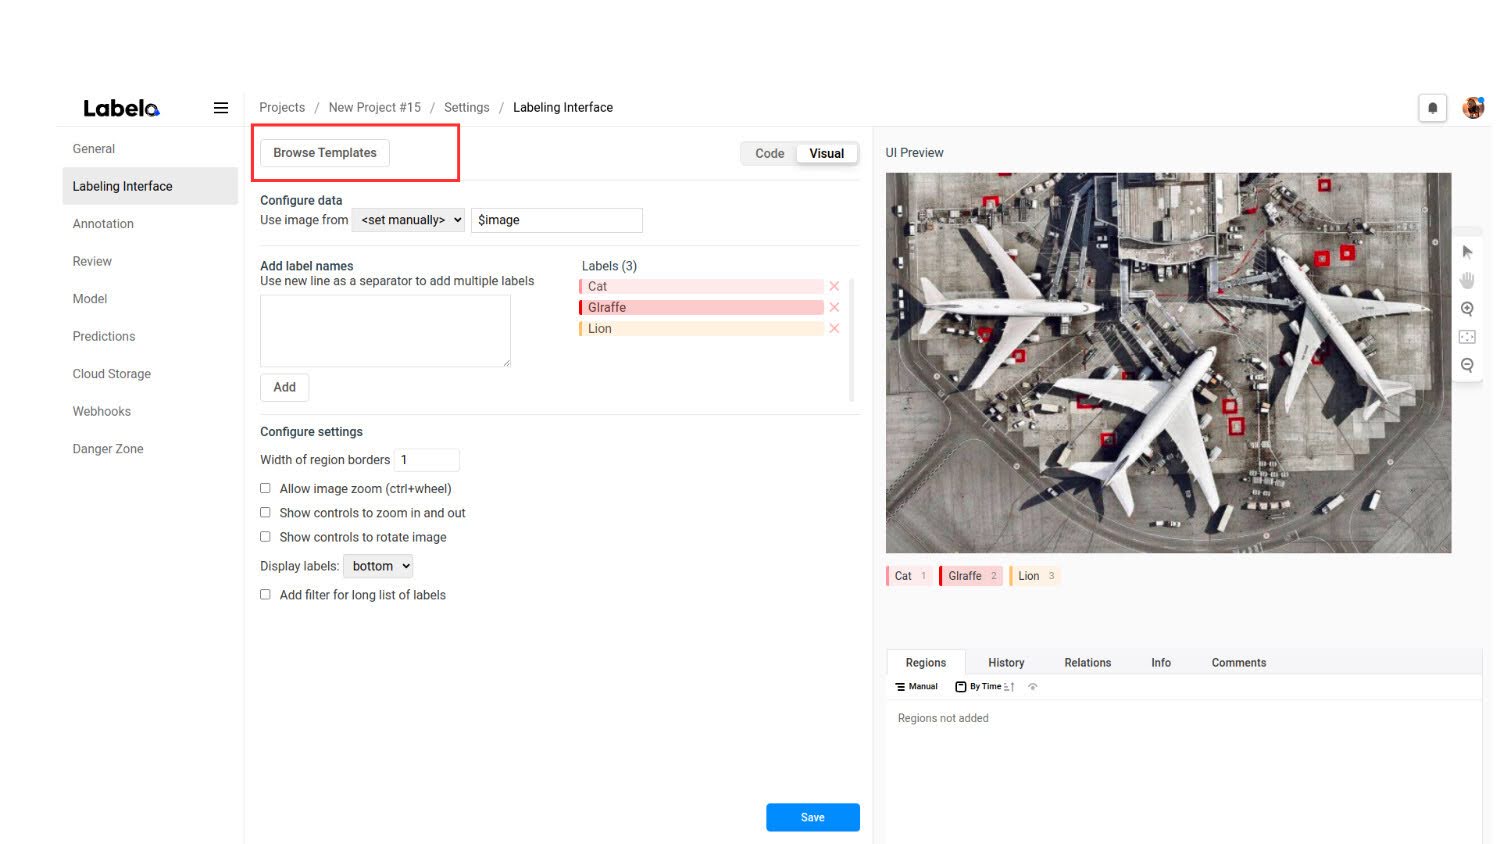
Customizing the Labeling Interface
You can customize the labeling interface to meet the specific requirements of your project.
- Add or modify labels to suit your annotation needs.
- Change settings to ensure the interface is easy to use for your annotators.
Important
- If your project already has existing annotations, you cannot change or delete labels linked to those annotations without removing the data first.
- Changing the labeling interface settings will remove any custom tabs you've added to the Data Manager.
Example of Custom Labeling Interface Code
Below is a simple example of how to customize the labeling interface:
<View>
  <image name="image" value="$image" />
  <label name="label" toName="image">
    <Choices>
      <Choice value="Cat" />
      <Choice value="Dog" />
      <Choice value="Other" />
    </Choices>
  </label>
  <Rectangle name="box" toName="image">
    <label>Object Detection</label>
  </Rectangle>
</View>
This code allows annotators to label images with a bounding box for object detection and add labels such as "Cat," "Dog," or "Other."