Data Labeling
Labelo offers a well-organized and user-friendly workflow for annotating data, making the labeling process both efficient and accurate. Whether you're working on a small dataset or managing large-scale machine learning projects, Labelo’s structured approach ensures that the entire process is smooth and reliable.
Labeling Workflow
1. Begin by navigating to the specific task in the project in Labelo where you want to perform annotations.
To start labeling all tasks in a project, click the Label All Tasks button on the tasks page. Alternatively, if you'd like to label tasks according to the current filter and sort order in the data manager, choose the Label Tasks As Displayed option. This approach lets you concentrate on specific task subsets, improving efficiency and organization in your labeling process.
2. Choose a label from the pre-created labels.
After navigating to the task you want to annotate, the next step is to choose the appropriate label from the list of predefined labels configured for your project.
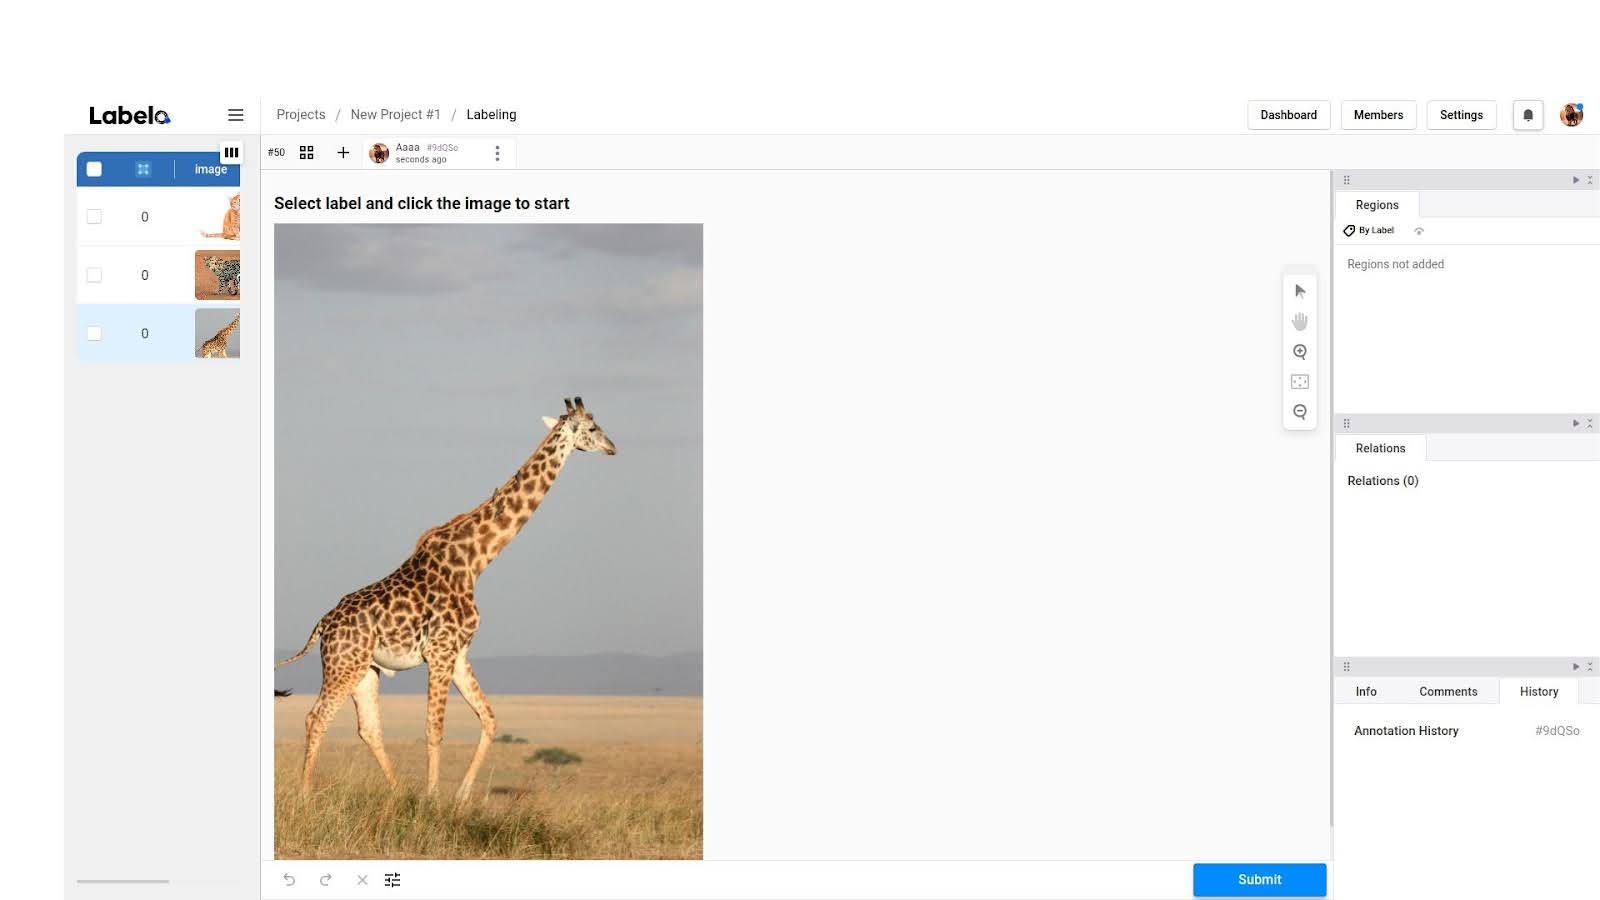
3. Start labeling by clicking on the image according to the template chosen.
To apply the label, simply click on the relevant section of the text, image, audio, or other data objects. Your changes will be automatically saved by the system.
4. After completing the labeling, you can submit your annotation by clicking the submit button.
Once you have finished annotating, click the Submit button to finalize the annotation and proceed to the next task. This process ensures that each segment of your data is accurately labeled and systematically recorded.
5. Update the annotation if there are any corrections.
In the course of labeling a dataset, it’s common to discover that some annotations need to be corrected or refined. Labelo provides a straightforward process for updating existing annotations to ensure the accuracy and quality of the labeled data.
NOTE
Annotations can be done by everyone in the organization except reviewers.